


Table of contents
- Overview
- Step 1: Setting Up an S3 Bucket for JSON File Uploads
- Step 2: Creating a Lambda Function for JSON to YAML Conversion
- Step 3: Writing the Lambda Function Code for JSON to YAML Conversion
- Step 4: Uploading source code to AWS Lambda
- Step 5: Setting up trigger
- Step 6: Let’s grant required permission to IAM role
- Step 7: Testing and Monitoring the Integration
- Conclusion
Overview
Hello folks , In this blog, we take a step-by-step approach to integrate AWS S3 with Lambda for JSON to YAML conversion. Learn how to leverage these tools to simplify your data handling and make your work more efficient.
Step 1: Setting Up an S3 Bucket for JSON File Uploads
Go to S3 dashboard and create a S3 bucket with name of your choice. Please keep configurations as default.
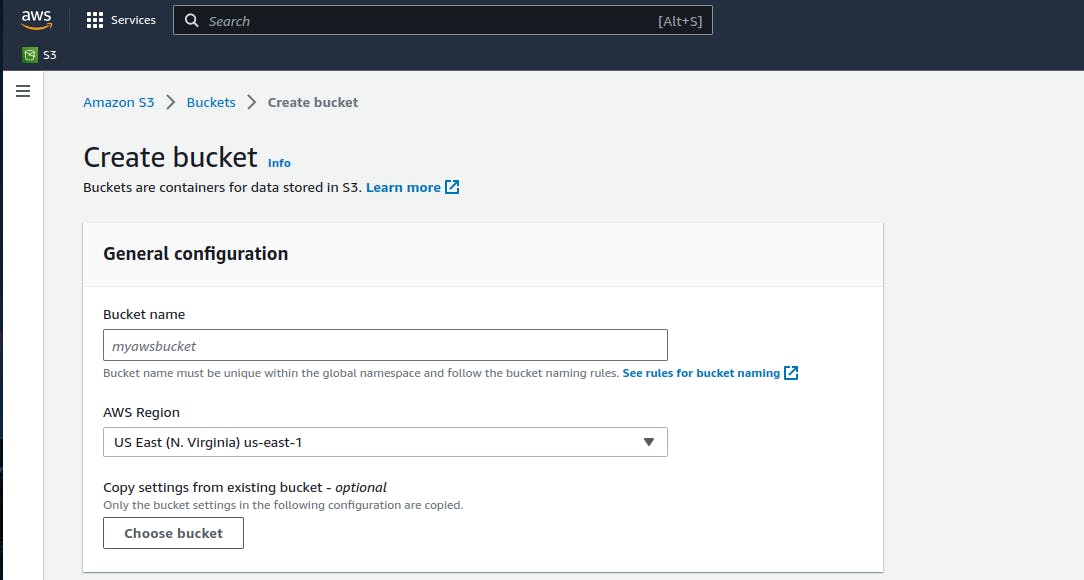
Once bucket is created you can see it under list of buckets on S3 dashboard.

Step 2: Creating a Lambda Function for JSON to YAML Conversion
Now , Let’s create lambda function - go to AWS lambda dashboard and create a new lambda function with name of your choice.
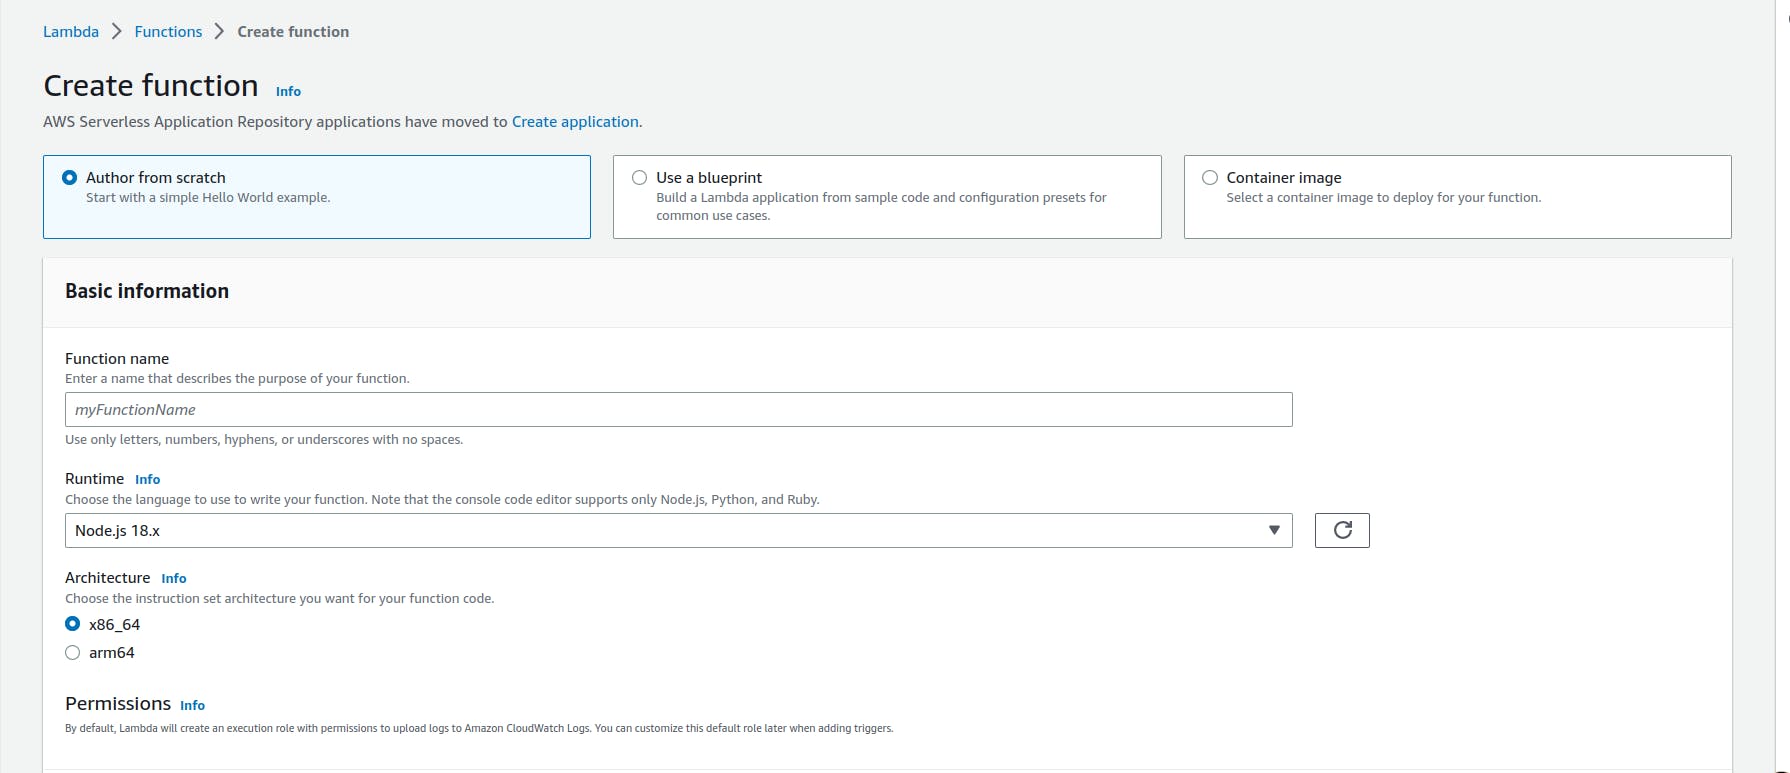
After creating the lambda function - it’s time to hit the code editor of your choice and write some code which we will upload to this lambda function later.
Step 3: Writing the Lambda Function Code for JSON to YAML Conversion
Open code editor of your choice and write the following code -
import json
import yaml
import boto3

def lambda_handler(event, context):
   #get json file from S3
   bucket_name = event['Records'][0]['s3']['bucket']['name']
   file_name = event['Records'][0]['s3']['object']['key']

   #Read json file
   s3 = boto3.client('s3')
   response = s3.get_object(Bucket=bucket_name,Key=file_name)
   json_data = response['Body'].read().decode('utf-8')


   #convert json to yaml

   object = json.loads(json_data)
   yaml_data = yaml.dump(object)

   #write yaml_data to file
   yaml_key = file_name.replace('.json','.yaml')
   s3.put_object(Body=yaml_data,Bucket=bucket_name,Key=yaml_key)

   return {
       'statusCode' : 200,
       'body' : 'JSON to YAML converted and uploaded to S3 bucket'
   }
🚨 Save this file with name lambda_function.py
Now, as we are using yaml module which doesn’t come by default with aws lambda python environment so we need to package it with the source code.
Install yaml module in the source code directory
pip install pyyaml -t .
Creating .zip file of source code and dependencies
zip -r lambda_function.zip .
You will get a .zip file with the name lambda_function.zip
Step 4: Uploading source code to AWS Lambda
Now, let’s upload the source code to AWS lambda - go under previously created lambda function on lambda dashboard - there under code section you will find upload from option - there select .zip file from the drop-down and upload the .zip file created in the previous step.

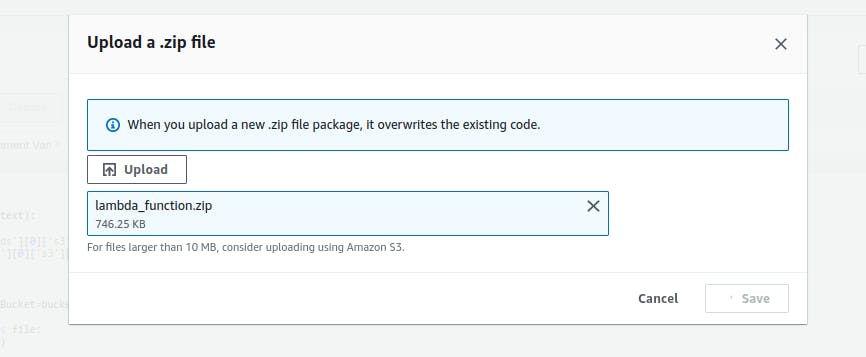
Save it after uploading.
Step 5: Setting up trigger
Now , let’s setup trigger for this lambda function - go under previously created lambda function on lambda dashboard there under configuration section go to select trigger option and add trigger with necessary configs like selecting source as S3 , bucket name , event type and suffix etc.
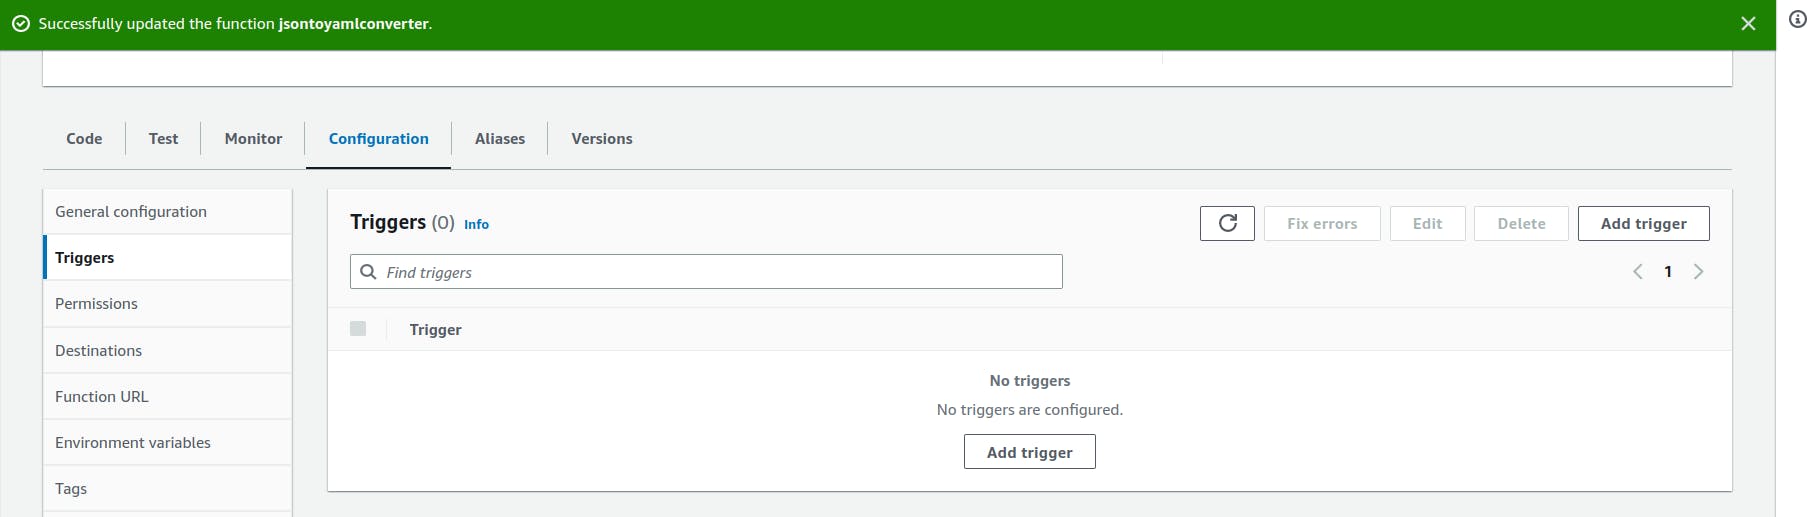

Add the trigger.
Step 6: Let’s grant required permission to IAM role
When we define a lambda function it creates an IAM role by default - we can also attach an existing role while creating a lambda function but as we haven’t done it - let’s add some permission to the default lambda role. Go to IAM dashboard - there go under roles and select the role of name similar to your lambda function name. Go to add add permissions and select appropriate permissions. Here I am giving AmazonS3FullAccess permission.
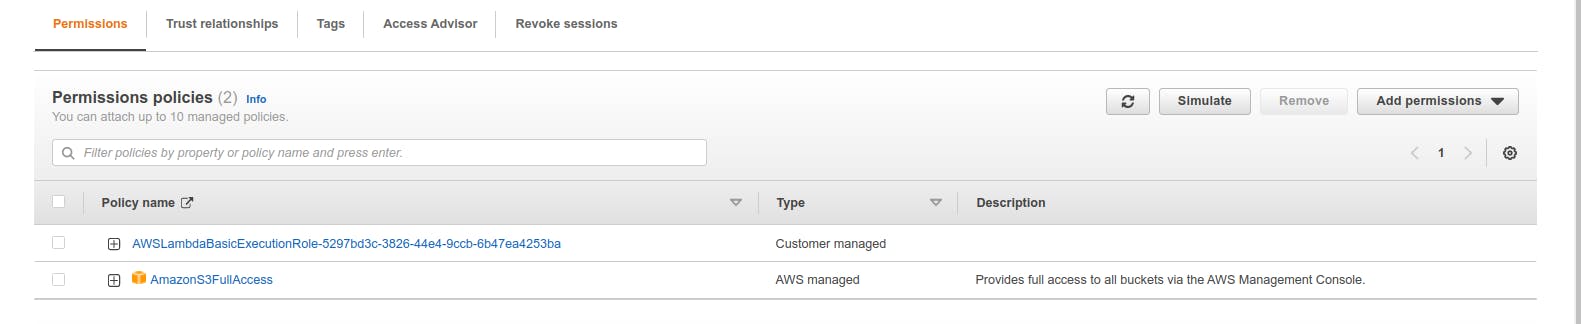
💡 IAM role which is created automatically with lambda function has AWSLambdaBasicExecutionRole bu default.
Step 7: Testing and Monitoring the Integration
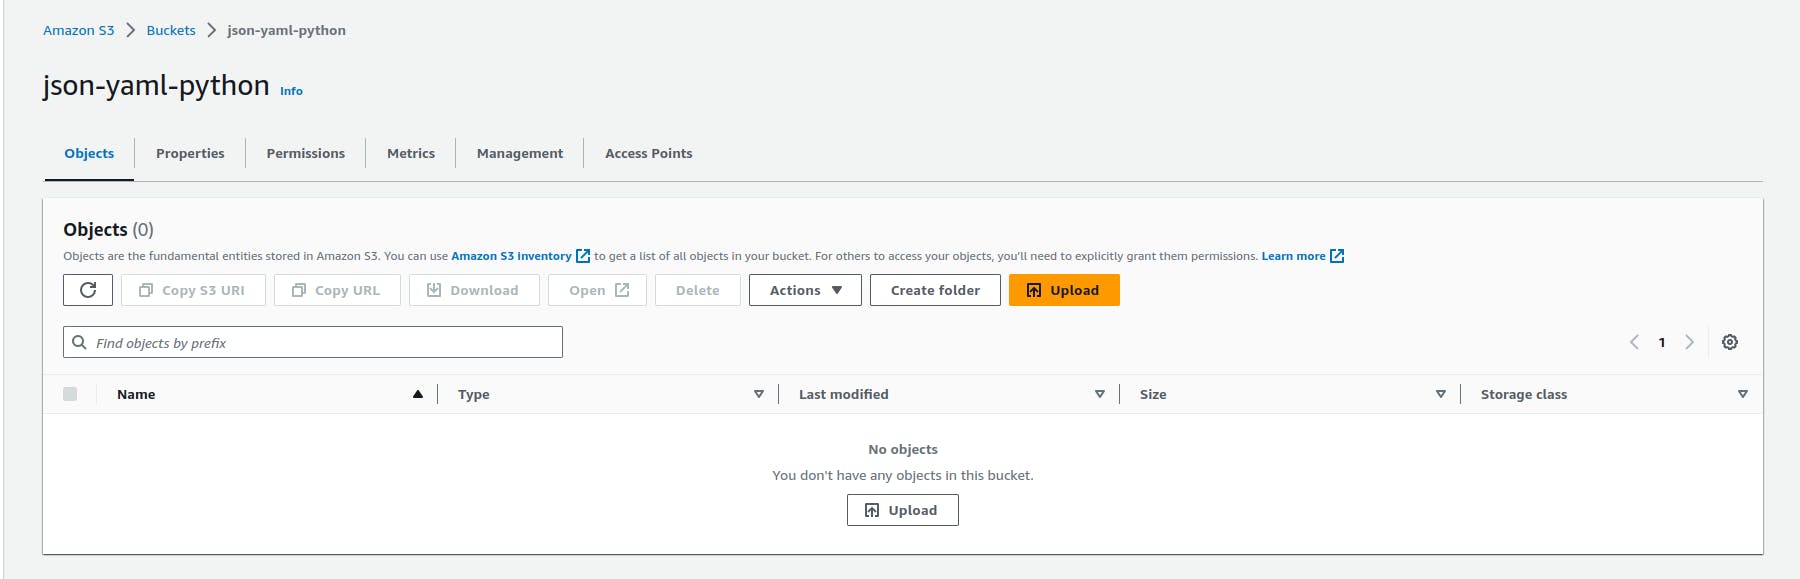
Now, that we have integrated the required services - let’s upload a .json file and test out the integration.
Go to S3 dashboard select the bucket and go under that - upload a .json file and wait for some time - refresh the bucket and if everything goes well then you will see a new YAML file appeared in the bucket.

In case integration is not working you can check the Cloudwatch log - go to Lambda dashboard and under Monitoring select cloud watch logs - you can check real-time logs and try to solve the error manually.
Conclusion
In conclusion, this blog has provided valuable insights into integrating AWS S3 with Lambda for seamless JSON to YAML conversion. By following the step-by-step guide, we have learned how to set up an S3 bucket, configure Lambda triggers, and automate file conversions. This project has equipped us with a deeper understanding of the power of automation and how it can simplify tasks, enhance efficiency, and unlock new possibilities. With this newfound knowledge, we are empowered to leverage AWS S3 and Lambda to automate various transformations, opening doors to improved workflows and increased productivity.
If you found this blog on AWS S3 and Lambda integration helpful and enjoyable, I would greatly appreciate your support! Give it a thumbs up, share it with your awesome friends, and don't forget to subscribe to the blog newsletter to stay updated with the latest content. Thank you 🙌📚✨